
Photo by: John Tuesday, Unsplash
Are you looking for someone to lend you a DSLR or the newest pro camera so you can take the best shots on vacation? The truth is, you don’t need one. If you already have an iPhone, you’re carrying a camera that can capture the golden glow of a Santorini sunset, the rush of a Marrakech market, or the view from a peak you might never climb again. The key? Being able to use it well.
This post will show you a few simple, practical tips to help you capture great vacation photos, whether you are going alone or with friends. No need for pricey hardware or hard editing, just your iPhone and a bit of know-how.
Get Your iPhone Ready Before the Trip
Before we get into photo tips, let’s start with a few things that don’t seem connected to shooting pictures, but matter just as much. These small steps will save you from headaches on your trip and make sure your iPhone is always ready when the perfect moment appears.
Fully Charge + Bring Backup Power
Imagine wearing the best outfit to take photos that look like they’re from Pinterest, in front of the Eiffel Tower, or on the black sand beach in Madeira, only for your iPhone to shut off because the battery has died. Worst timing ever. To avoid it, always charge your phone to 100% before heading out. Take a power bank and a regular charging cable with you, too. That way, you can recharge over coffee instead of running back to your hotel room.
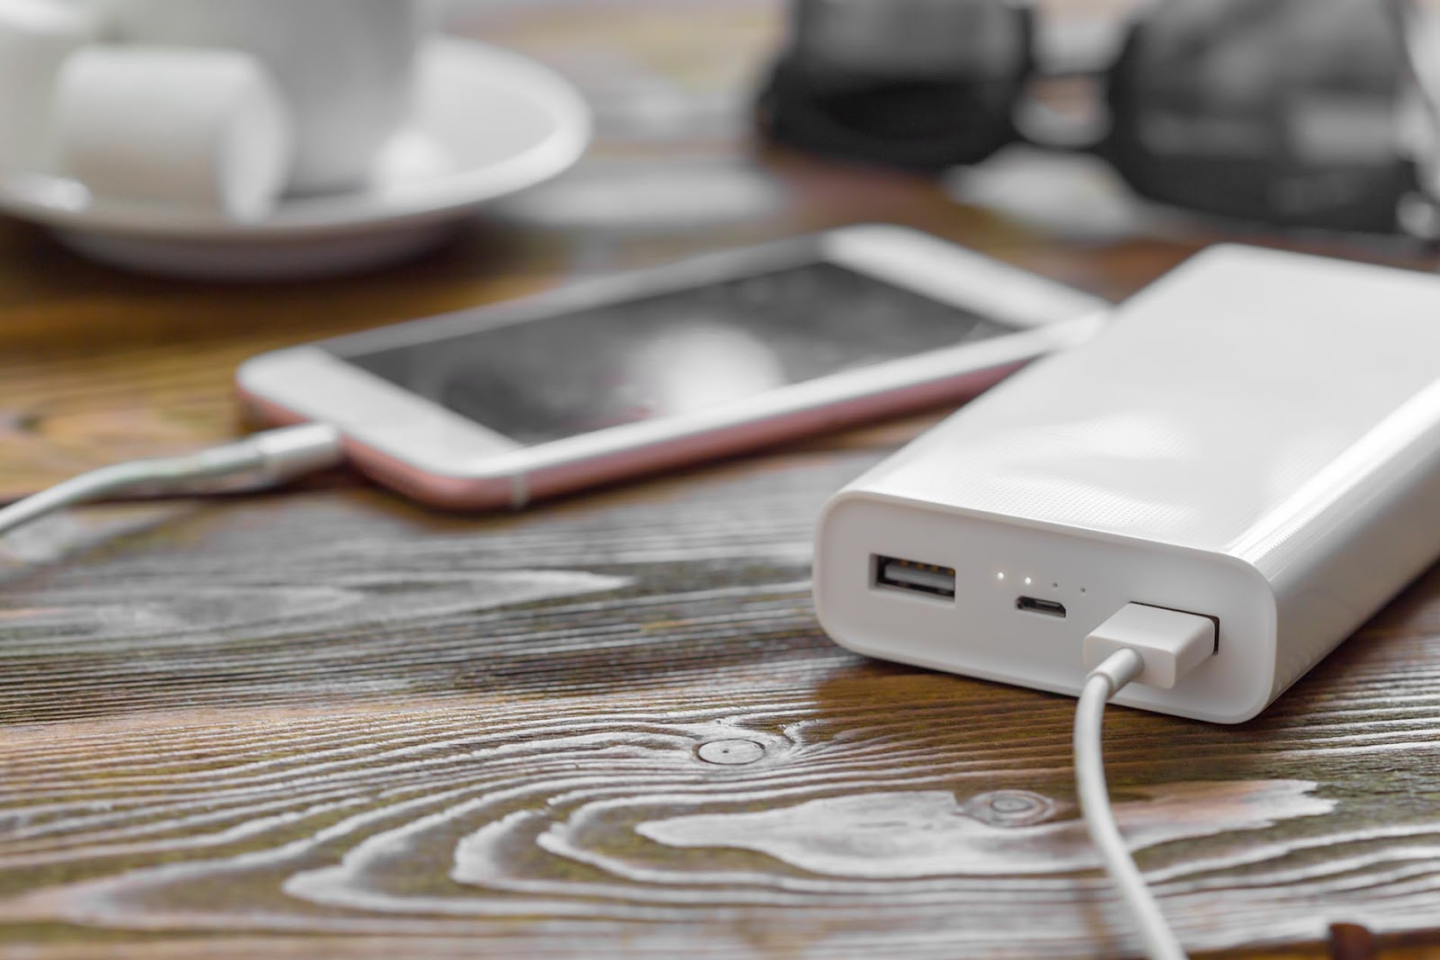

Photo by: Fabrikasimf, Freepik
From the prep side, it’s also smart to sync your photo gallery with iCloud. That way, even if something happens to your iPhone – you drop it in the water or lose it on a hike – you’ll still be able to open your photos from another device with your Apple ID. If you’ve never used iCloud before, Apple has a guide on its support page that explains how to set it up. It takes just a few minutes, and once it’s on, your photos are safe no matter what.
Clear Space on Your Phone
You are on vacation, ready to shoot, and another problem appears – the end of the iPhone storage at the worst possible second, just as your friend jumps off that cliff into turquoise waters. Nightmare. If you don’t want to panic and delete everything from the photo and video library instead of capturing that moment, clear space in advance. Start deleting unnecessary images and videos while you are still at home, or do it on a plane or bus.
- Delete blurry shots and random screenshots.
- Ditch videos you will never rewatch.
- And most importantly, get rid of duplicate iPhone photos. You would be surprised how many you have.
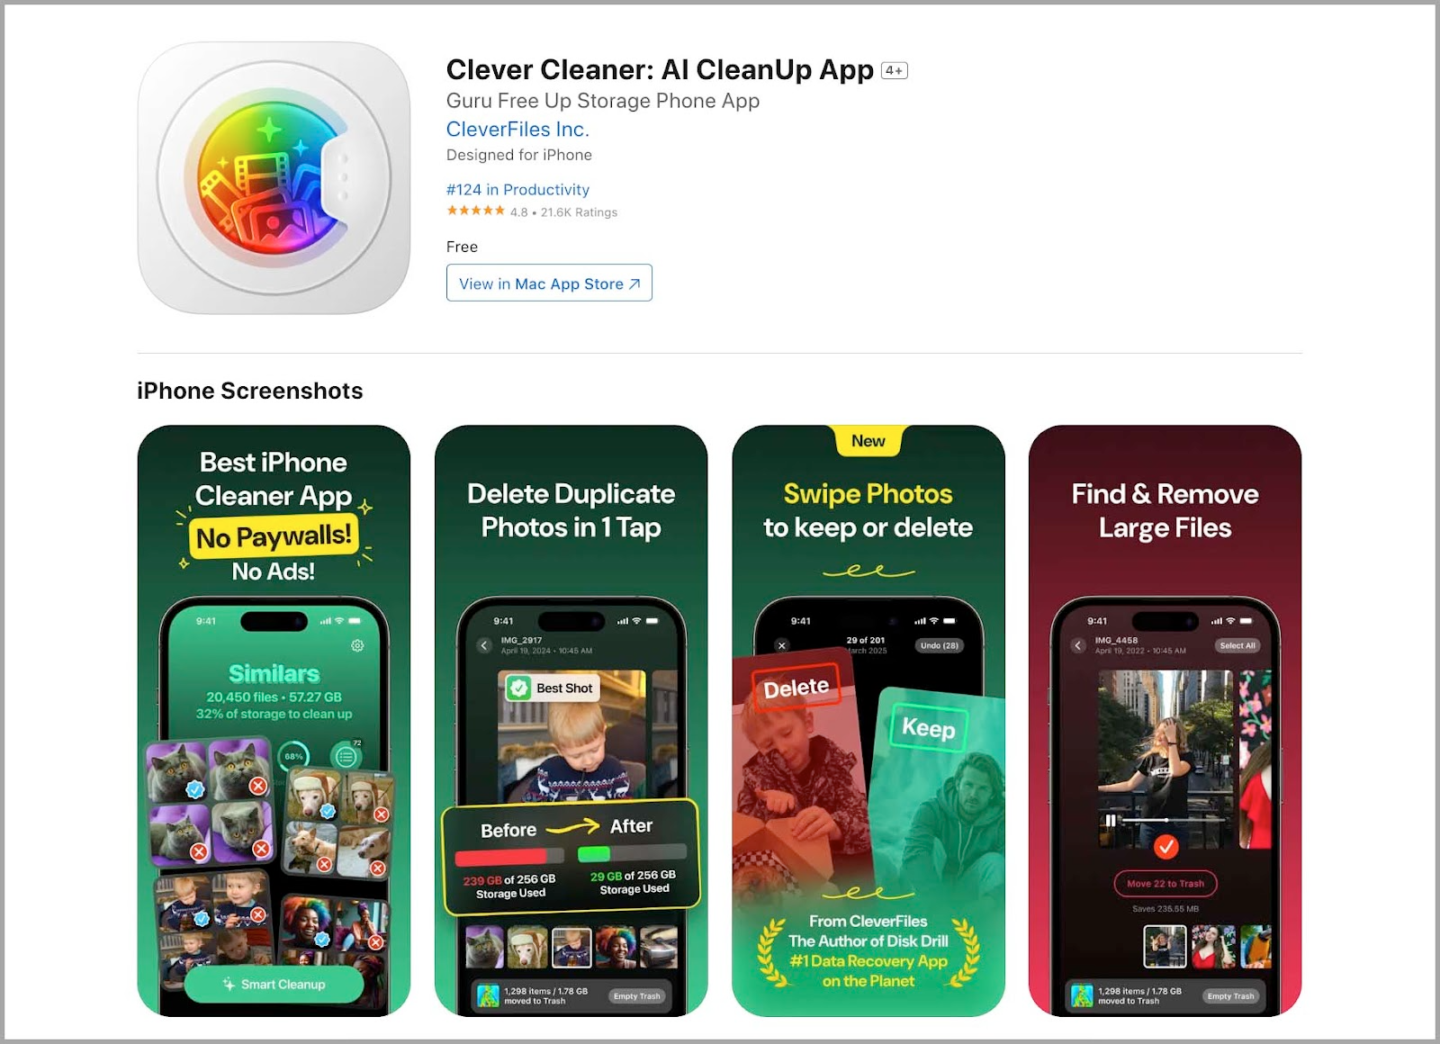
Shortcut: Do not want to spend hours sorting through your camera roll? Try Clever Cleaner. It is a 100% free, AI-powered app that automatically detects duplicates, similar photos, and even suggests the best version to keep. Way faster than doing it manually. You can also use it after coming back from vacation to tidy up your Photos app.

Use Your iPhone’s Camera Features (They are Seriously Good)
You do not need third-party apps. The iPhone Camera app is powerful once you know how to use it right. Apple has already built in tools that cover almost everything you’ll need on vacation, from framing to modes for tricky lighting. Most people never touch half of these features, but once you start using them, your shots instantly look better.
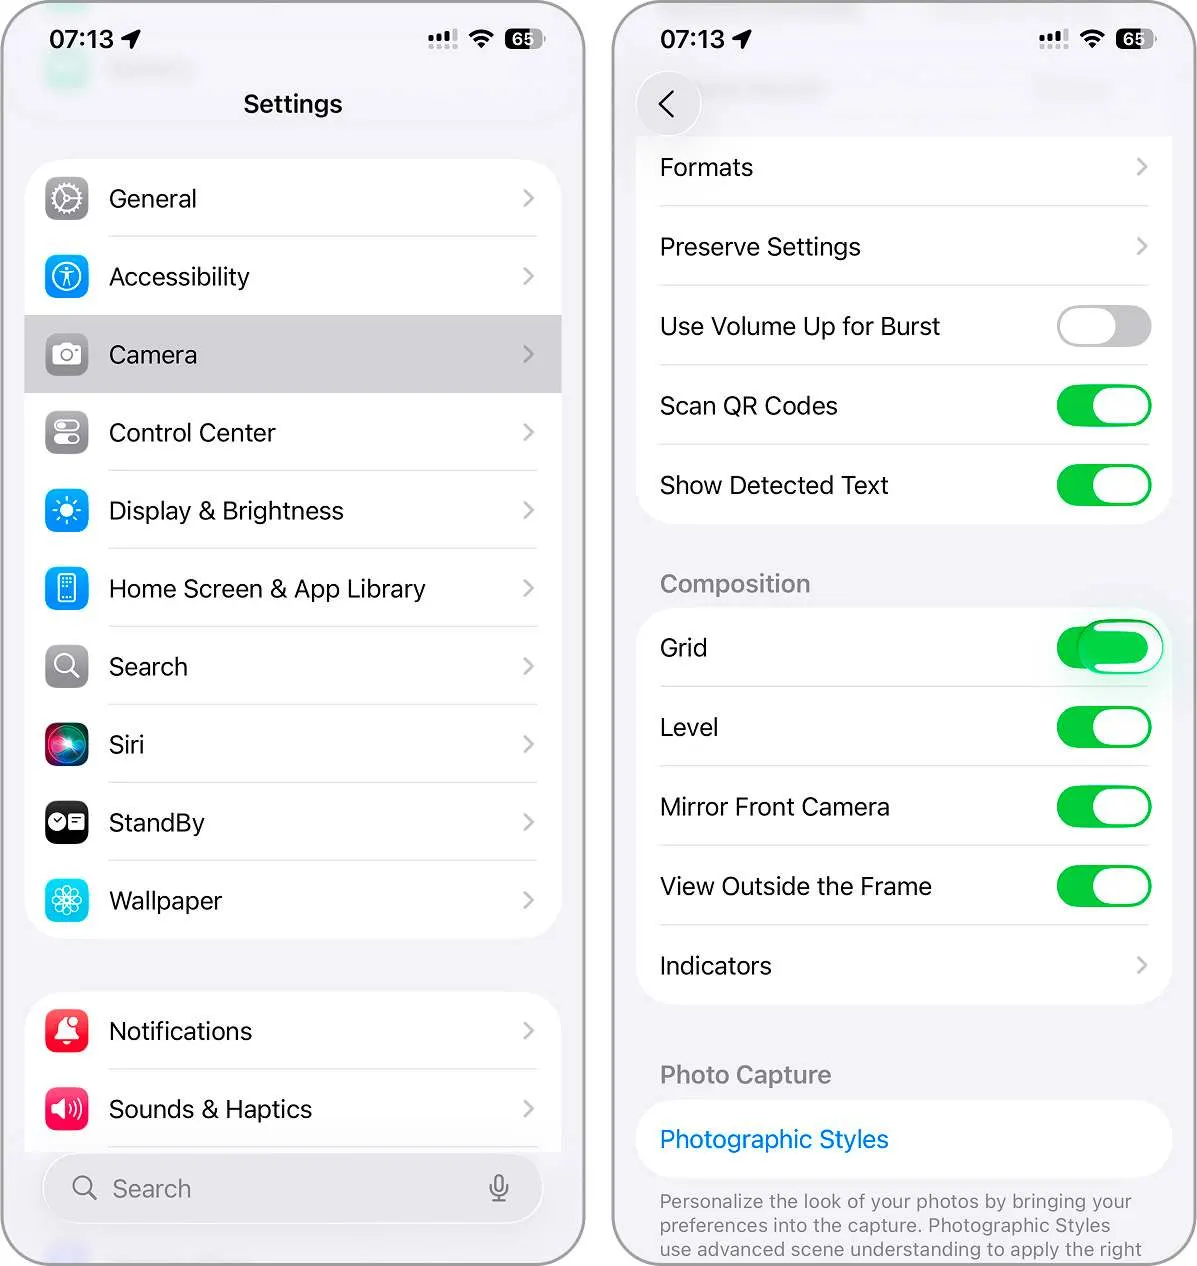
Turn On Gridlines + Master the Rule of Thirds
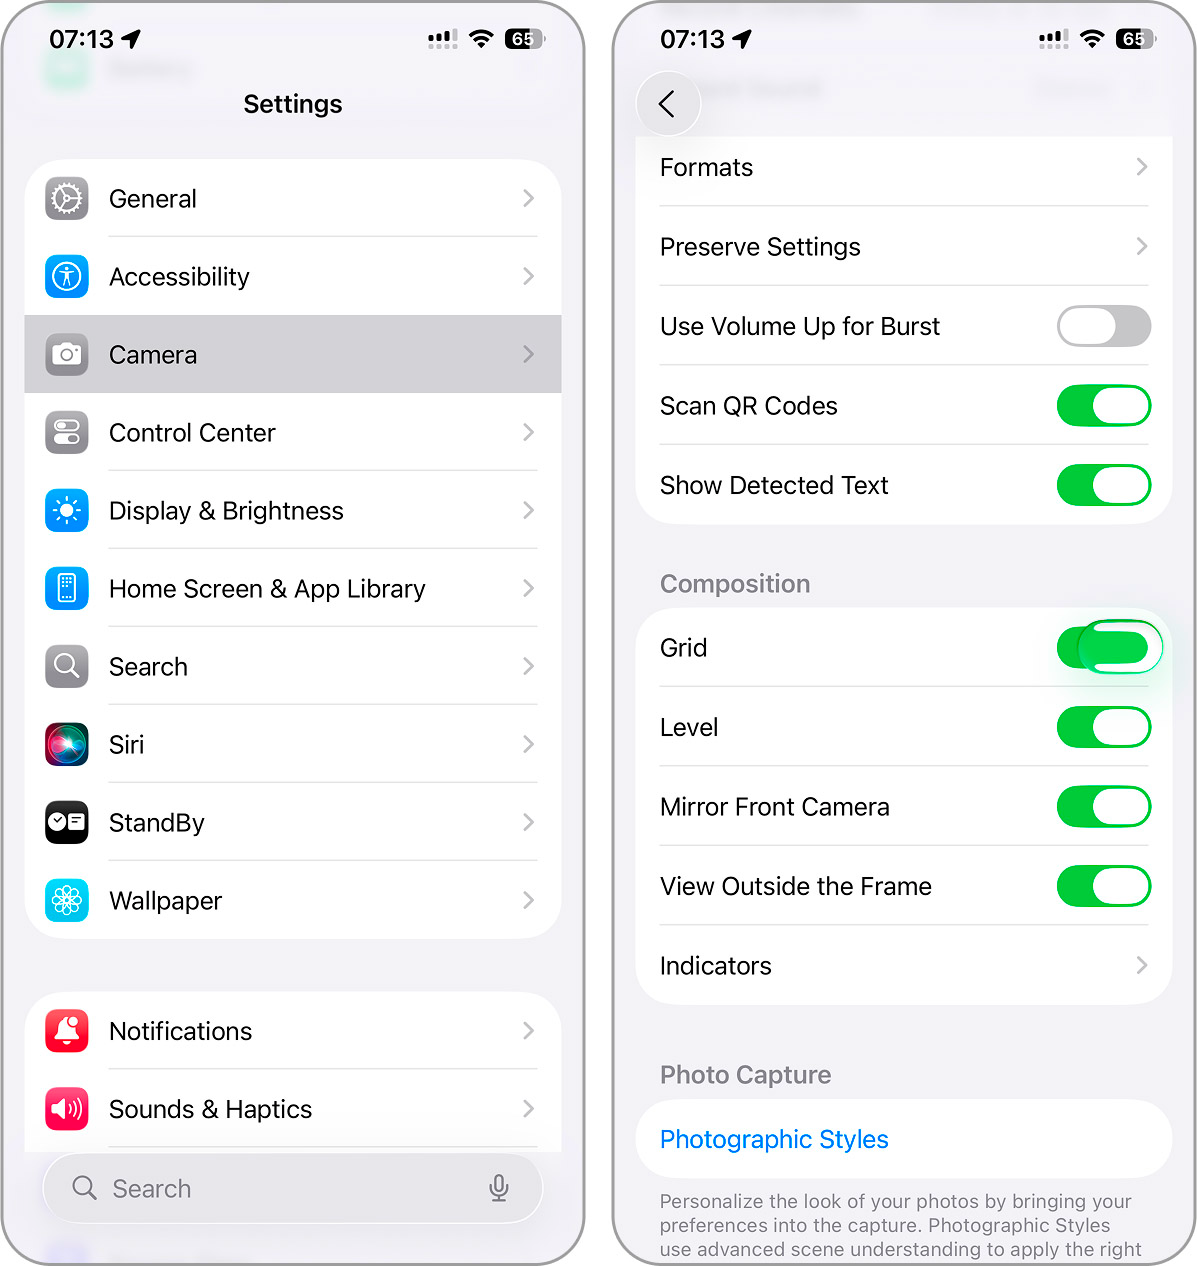
If you ever struggle with exposure or are not sure how to frame a shot, turning on the grid can help a lot. The grid gives you guidelines right on the screen so you can see where to place your subject and balance the frame more easily. The idea behind it is called the rule of thirds. Instead of keeping your subject in the middle, you line it up with where the grid lines cross. This makes the photo feel more natural and more interesting to look at. Go to Settings → Camera → Grid and switch it on.
And if you’re the type who learns better by seeing, just search “Rule of Thirds iPhone” on YouTube, and you’ll find plenty of quick guides with examples.
Try New Angles
Don’t limit yourself to shooting everything from eye level. Try getting low to make buildings or landscapes look more impressive, or shoot from above when you’re taking photos of food, flat lays, or a busy street scene. You can also use natural frames, such as windows, arches, or branches, to draw attention to your subject, or find leading lines, like roads, railings, or boardwalks, that guide the viewer’s eye into the photo.


Photos by: Matt Reames (left), Artur Kornakov (right), Unsplash
3. Master Camera Modes Like a Pro
Your iPhone camera isn’t just the plain Photo mode. There are a few others tucked in there, and once you figure out when to use them, they make life a lot easier.
- Portrait Mode gives you that nice blur in the background. It’s great for people (yes, for your travel selfies) or for food shots that need a little drama. It also helps in crowded places, like holding a gelato in Rome while the tourists behind you blur into the background. You’ll see it by swiping through the modes in the Camera app until “Portrait” shows up.
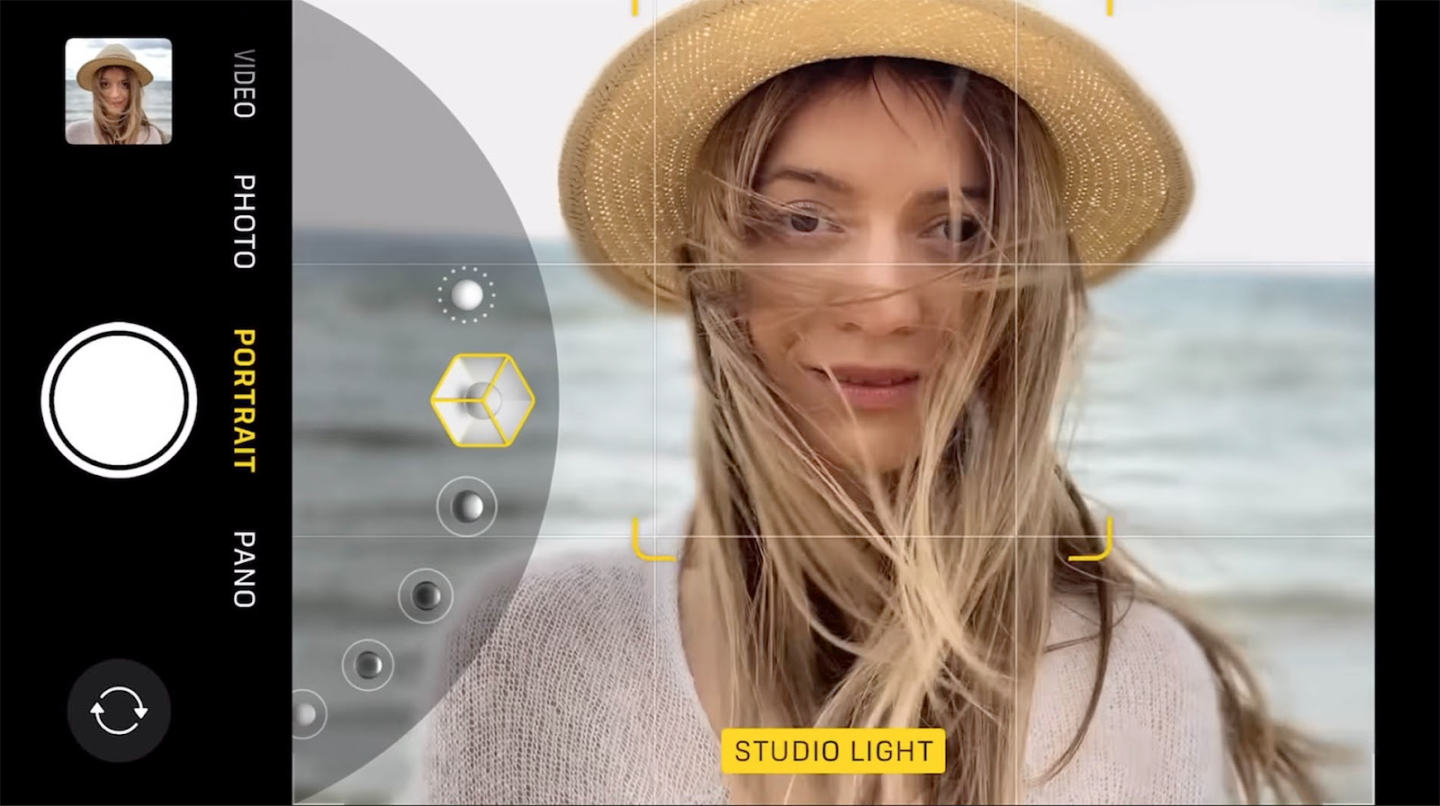
Photo by: iPhone Photography School, YouTube (screenshot from video)
- Live Photos works differently. Instead of one picture it grabs a tiny clip, a second and a half before and after you press the shutter. Sounds small, but it’s perfect for little movements – water splashing, someone flipping their hair, or even when you catch a laugh. Later, you can scroll through and pick the best frame if someone blinked. You can turn it on by tapping the circle icon at the top.
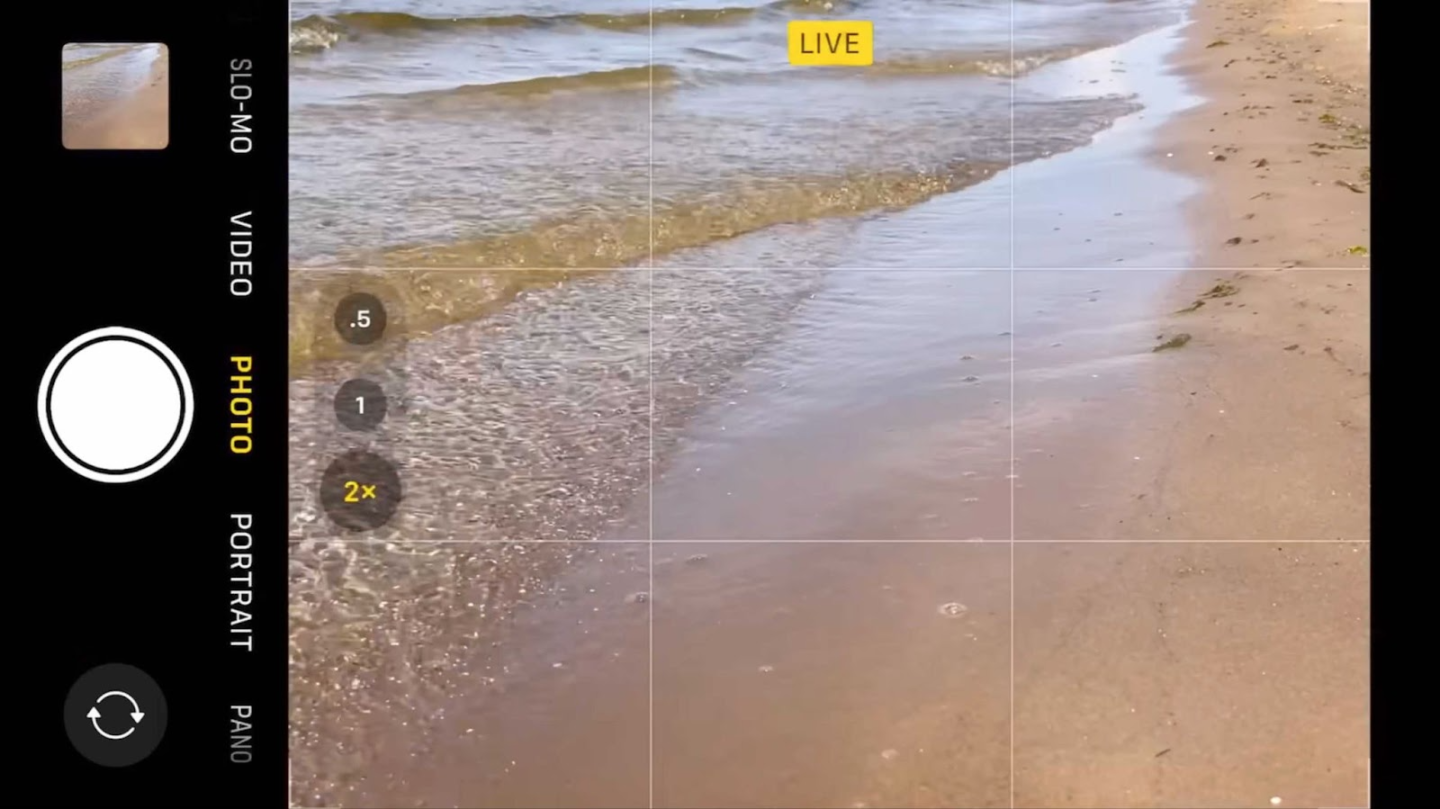
Photo by: iPhone Photography School, YouTube (screenshot from video)
- And then there’s Burst Mode. Hold the shutter and it just keeps firing shots until you let go. It’s messy, but it works for action, like jumping, street performers, and animals that don’t sit still. Better to have 20 photos to choose from than miss the one good one.
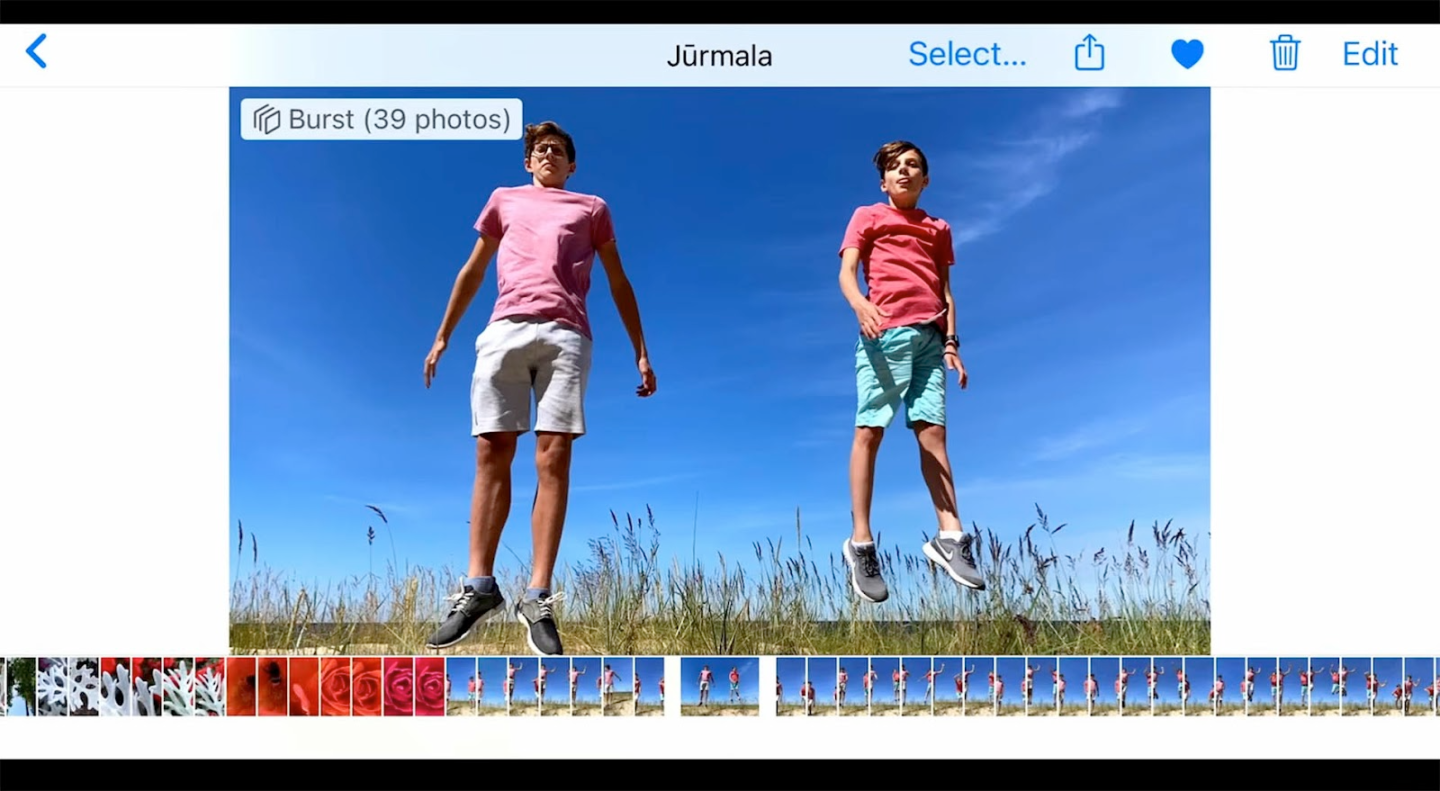
Photo by: iPhone Photography School, YouTube (screenshot from video)
Skip Instagram/Snapchat Camera Apps
It’s tempting to snap photos right in Instagram or Snapchat, but the quality takes a hit? The colors look flatter, the details softer, because those apps compress everything for faster uploads. Use the iPhone Camera app instead, and you’ll get the full resolution, and then you can share later without losing the sharpness.

Pro Tip: If you have recently switched from Android, this might not be obvious. But trust us, it is a game changer for photo clarity.
4. Work With Light, Not Against It
Light can make or break your photos. Here is how to chase the good stuff:
Golden Hour = Your Secret Weapon
This lovely time of day, right after sunrise or right before sunset, makes your images appear warm and like they are from a movie. You may use it to take images of people at the beach, in the city, or anyplace else outside.
Not sure when golden hour will be where you are going? To acquire ideas for the timing and look of your trip, search for “golden hour” on Pinterest or Instagram.
Avoid Harsh Midday Sun
You’re walking around at noon, the sun is right above you, and every photo looks the same, where people squint, with dark shadows under the eyes, faces that just don’t look good. That’s the problem with harsh midday light, it ruins what could have been a great shot. The fix is easier than you think:
- Step into open shade, even a tree or a café awning makes the photo softer.
- If there’s nothing like that nearby, use reflected light – a wall, the ground, or even one of those small portable lamps you can pack before your trip, the same kind many bloggers use.
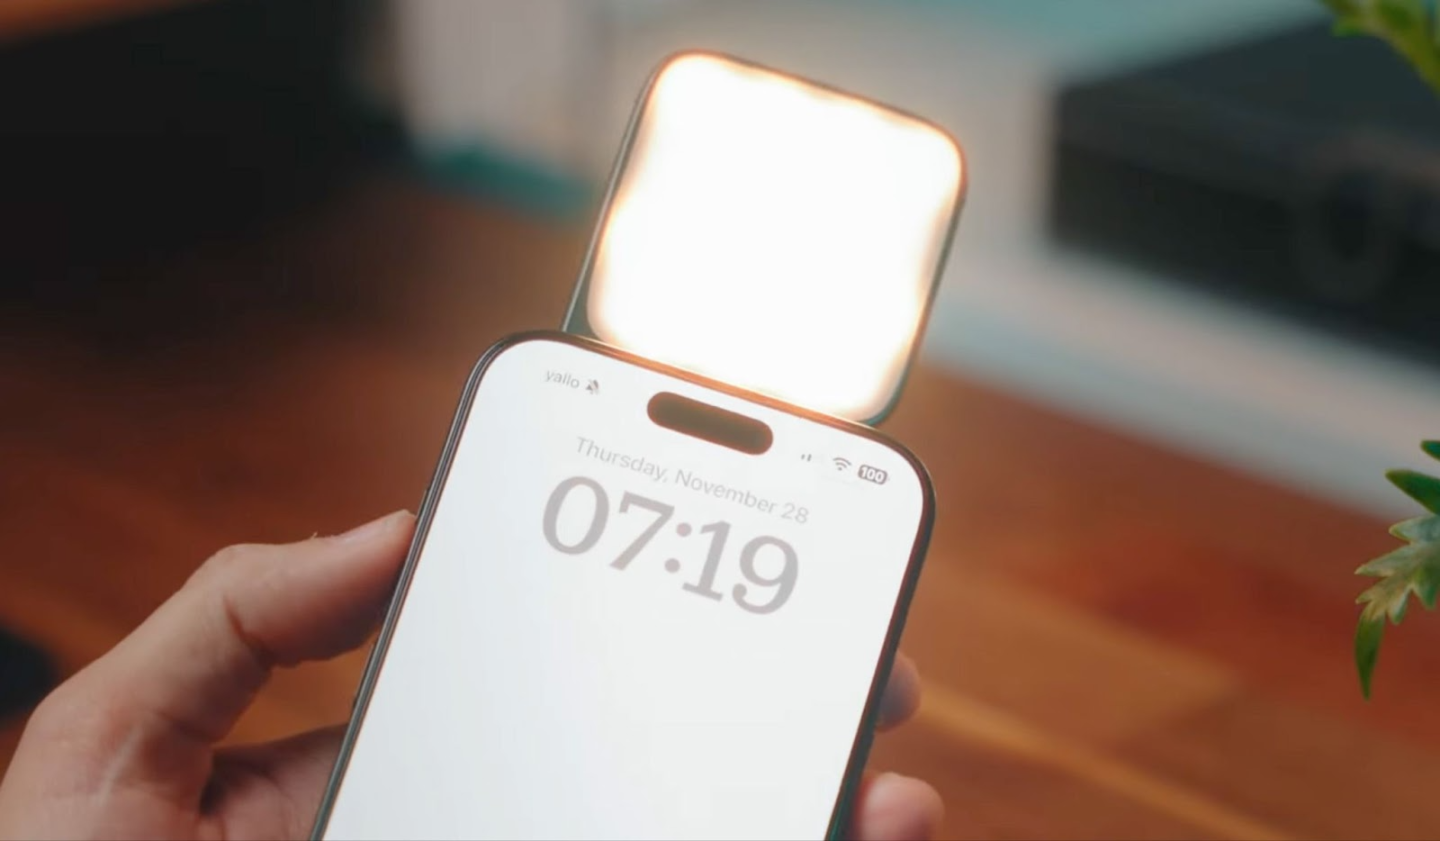
Photo by: Benett Graezer, YouTube (screenshot from video)
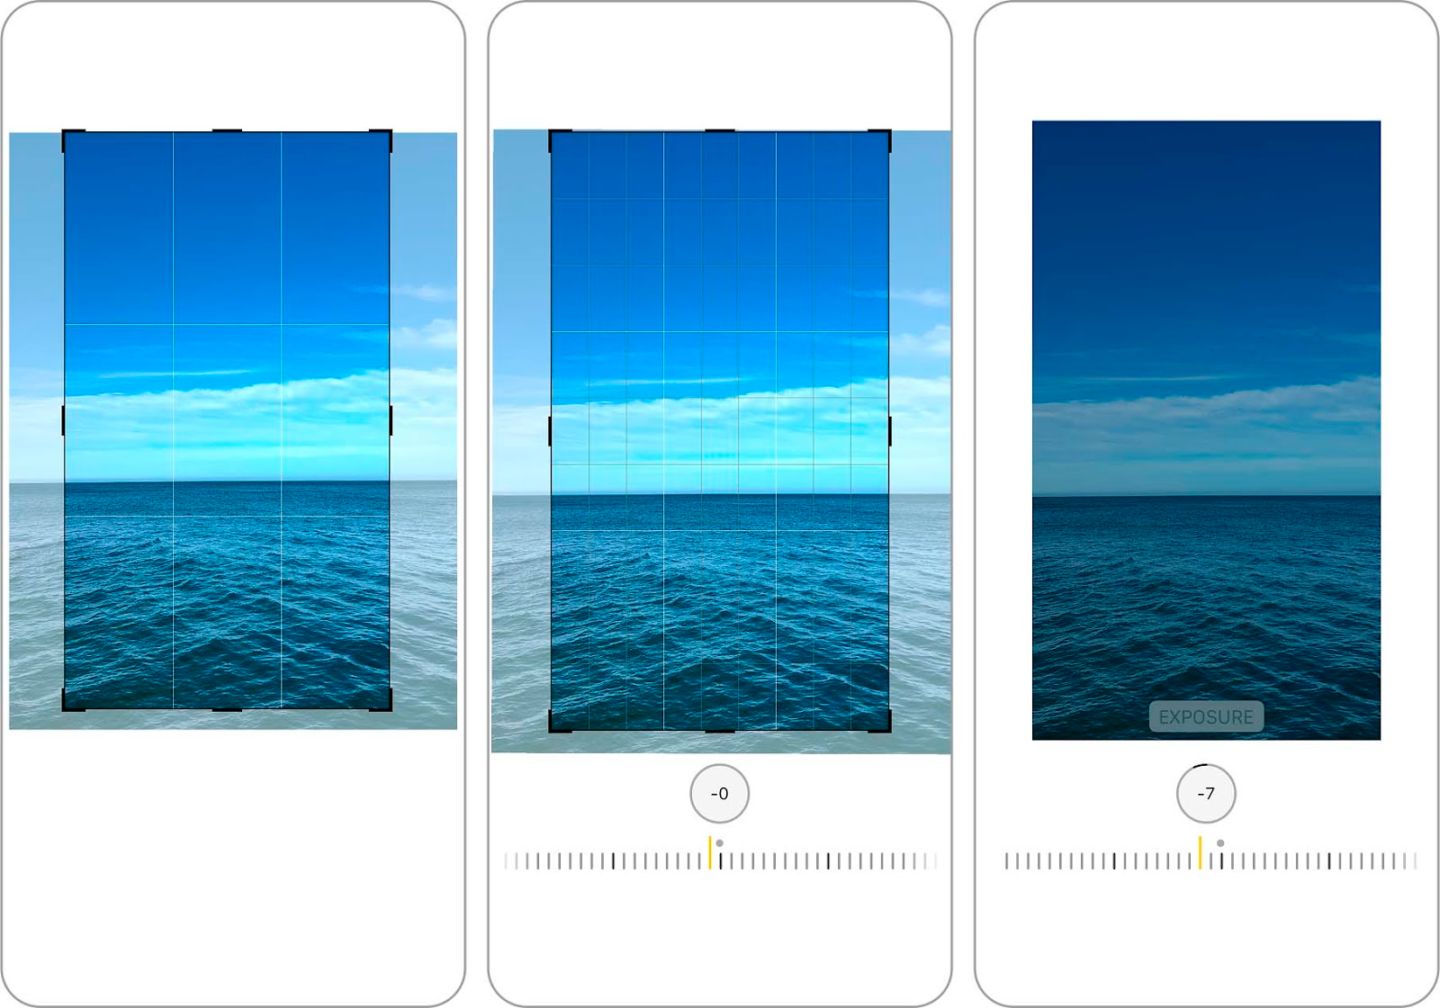
- And if the shot still looks too bright or too dark, just tap the screen and slide your finger until the exposure looks right.
- When the day is done and it gets dark, Night Mode is there to help, but only if you keep your iPhone steady or lean it against something solid.
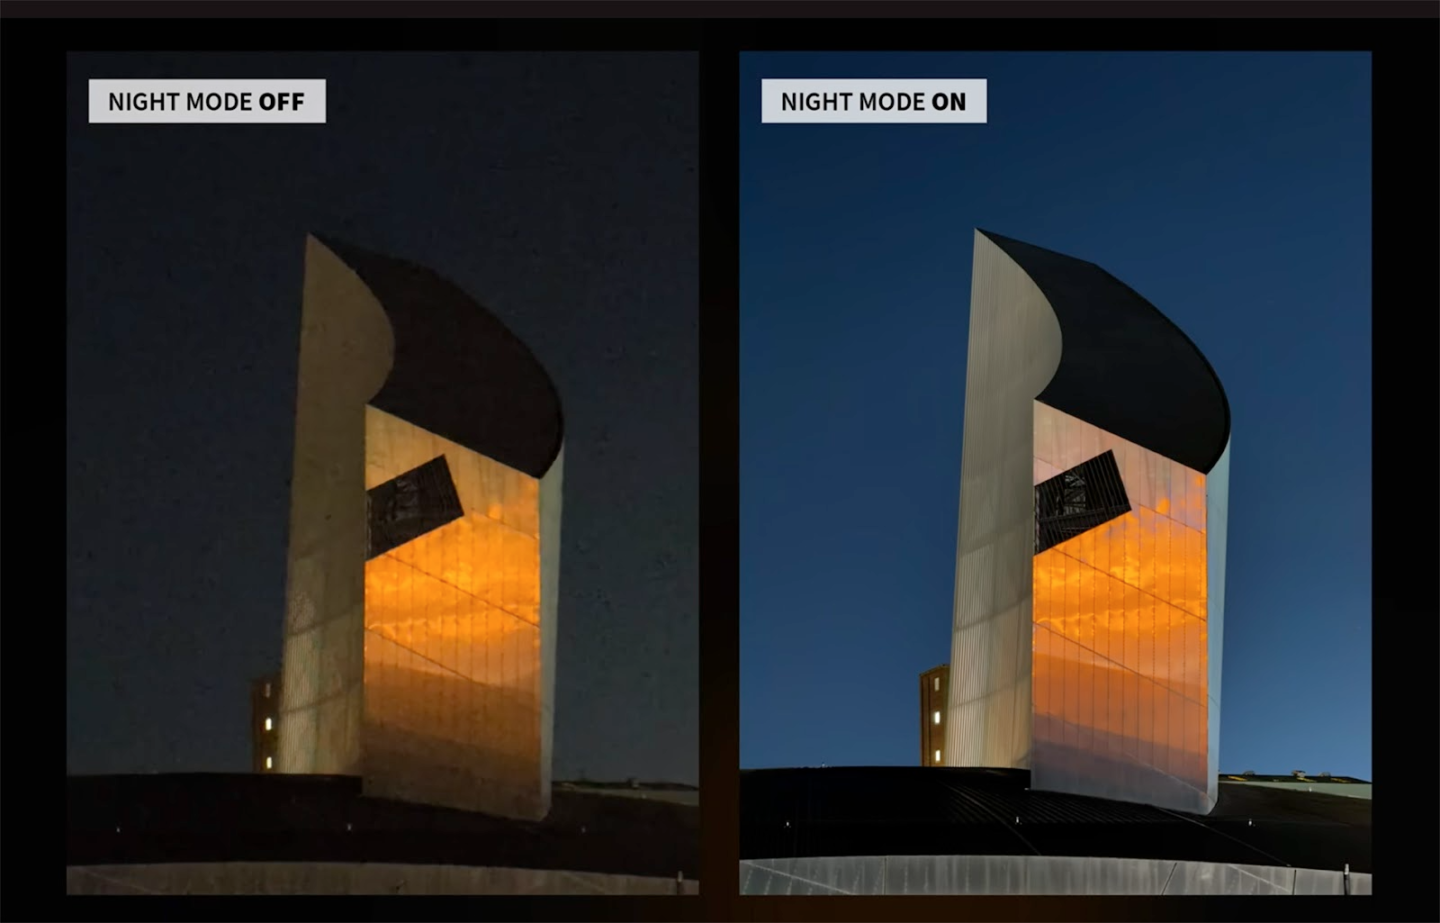
Photo by: iPhone Photography School, YouTube (screenshot from video)
5. Edit Lightly + Share Later
Use Built-in Editing or Lightroom Mobile
You come back from vacation with a lot of good photos, and you think they’re already perfect. But then you notice small things – someone in the corner of the frame, the horizon a little crooked, or the light not as good as it looked in the moment. It happens to everyone. The easy fix is post-processing, and you don’t even need extra apps for it. Everything is already in your iPhone. You can:
- Crop a picture to cut out distractions.
- Straighten the horizon if it’s tilted.
- Adjust the exposure, shadows, and contrast when the light wasn’t quite right.
Or try Lightroom Mobile if you want a bit more control, especially with lighting and tones. Avoid going overboard with filters. Keep it natural and timeless.
Do not Rush to Post Everything
The final advice is simple: don’t post everything in real time. On a trip you should be enjoying where you are, not stuck in your gallery trying to decide which version of the sea looks better. Leave posting for when you’re back home. Then you’ll have time to look through your photos, think about the moments again, choose the ones you like most, and share them as one story.
Final Thoughts: Slow Down + Enjoy the Shot
Great travel photos are not about the fanciest gear or the perfect pose. They are about capturing a feeling, a story, a moment.
So, the next time you are wandering a new city or hiking up a remote trail, remember:
- Clean up your phone before you go
- Use the tools already built into your iPhone
- Chase good light
- Do not over-edit
- And most importantly, enjoy the process
The finest travel images are the ones that make you feel something when you look at them again.
You don’t need a high-end camera to take pictures of them. You need to stop, pay attention, and snap pictures on purpose. Do not only show what it looked like in your images; show how it felt to be there.
That’s what makes amazing vacation pictures wonderful.