A successful YouTube channel is not uniquely dependent on great ideas. It also results from making great and engaging videos that can keep the viewer subscribed and coming back for more. With CapCut’s desktop video editor, creators seeking to upscale their content without putting a hole in their pocket will consider this tool a huge boost. This free editor has everything you need to complete edits like a professional.
One tool that stands out for YouTubers is CapCut’s text-to-speech feature. This allows you to add clear professional narration to your videos without any direct voice recording from your side, thus making for a perfect narration for intros, tutorials, or commentary.
In this article, we will look into how the desktop editor from CapCut will streamline your YouTube channel with a tutorial on how to get polished content through step-by-step instructions.
The Importance of Quality on YouTube
Millions of videos vie for the attention of viewers. This makes it a rather tough arena. Good editing, however, will stand out, increase watch time, and even help the channel’s rankings with respect to algorithms. CapCut’s desktop editor allows one to create impressive-looking and presumed videos without much steep learning curve whatsoever.
Engaging Your Audience
Smooth transitions, clear hearing, and good effects keep viewers glued. CapCut simplifies all of that.
Growing Your Channel
Videos that have guts create trust in the audience and, with it, a chance for subscriptions and shares. CapCut releases your creativity instead of wrestling with difficult software.
CapCut’s AI Video Generator Speeds Content Production
Time is always precious for YouTubers, and the AI video generator of CapCut saves hours of editing. It drafts videos simply on text prompts, making it ideal for preparing intros, outros, or even full segments such as vlog recaps. Just tell the AI what you want, and it builds a basis to start refining.
How AI Poaches Efficiency
It also adds pictures and combines music intelligently when creating content at a much faster rate with this wonderful creation of making regular contributions possible.
Personalization of AI in Content
You can then give your flavor to the video by tweaking it using the desktop editor of CapCut; insert your channel’s branding, set your timing, or add your videos to personalize it.
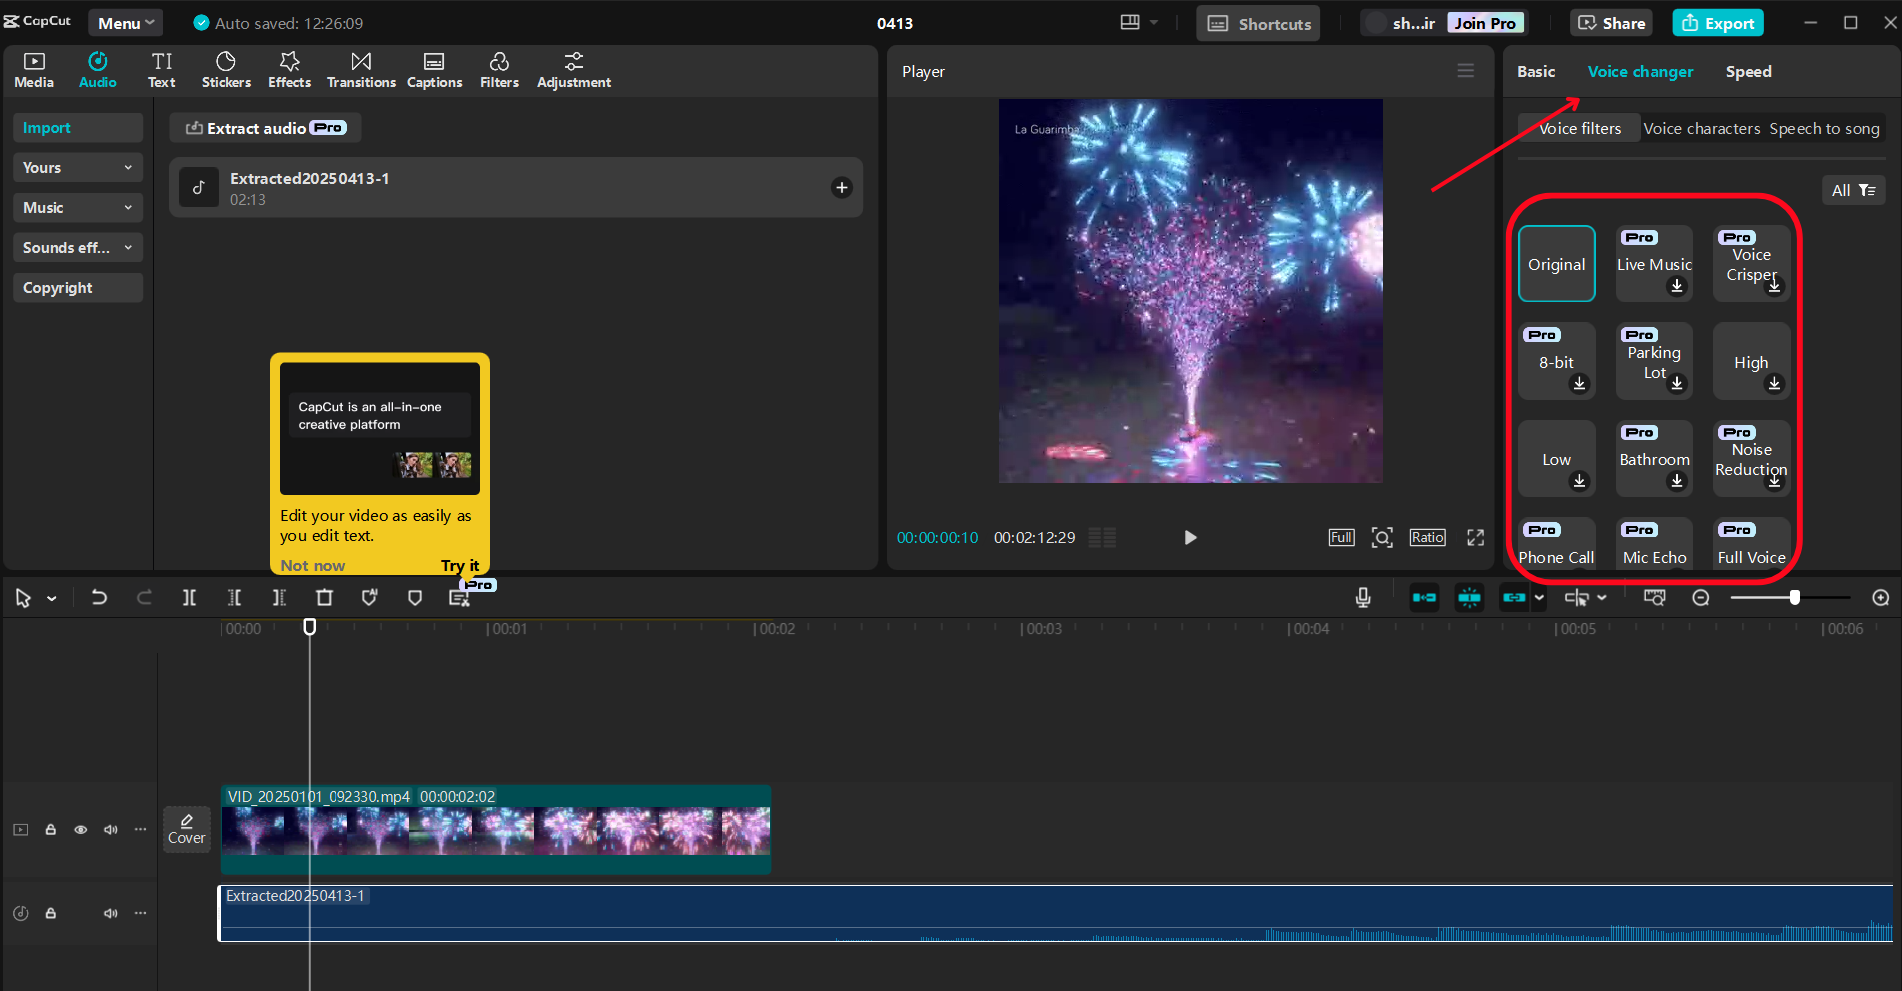
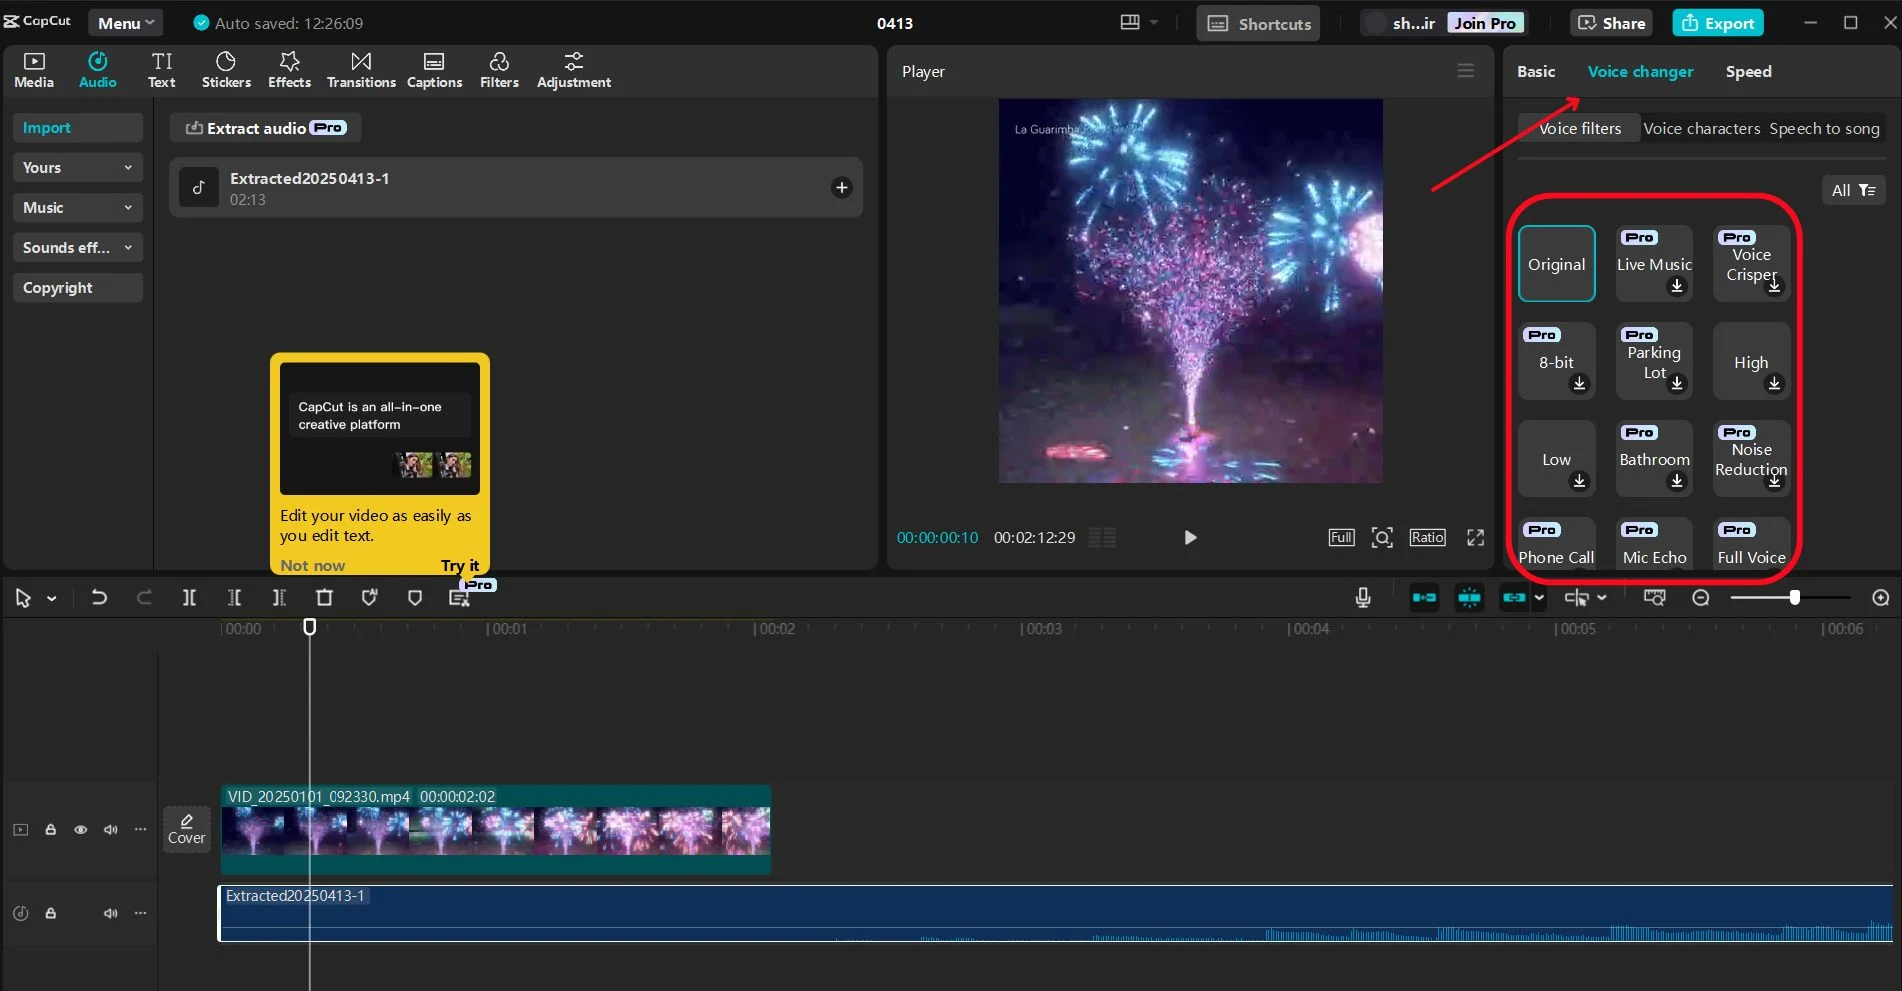
Give some extra flair using CapCut’s voice changer
The real attraction of any YouTube video is the audio, and having fun with the sound is what CapCut’s voice changer is all about. For instance, if you feel like adding some theatrics for a gaming video or giving a lighthearted touch to a vlog, such effects enrich your videos and engage your audience.
Making Your Voice Special
A special audio style might be part of a channel’s identity. Try voice effects, either deep bass or cartoon, that work for your niche.
Viewer Engagement Enhancement
Voice Effects can highlight a moment or create comedic timing, and in either of those ways, keep users engaged for longer and interact with your content.
Step-by-Step: Creating a YouTube Video with CapCut Desktop Editor
Do you want to elevate your game on YouTube? CapCut’s desktop editor provides you with everything you need to create stunning content with the utmost convenience, be it for vlogging, teaching, or reviewing. Therefore, just follow the simple steps below to form a clean and polished YouTube-ready video out of your dry clips.
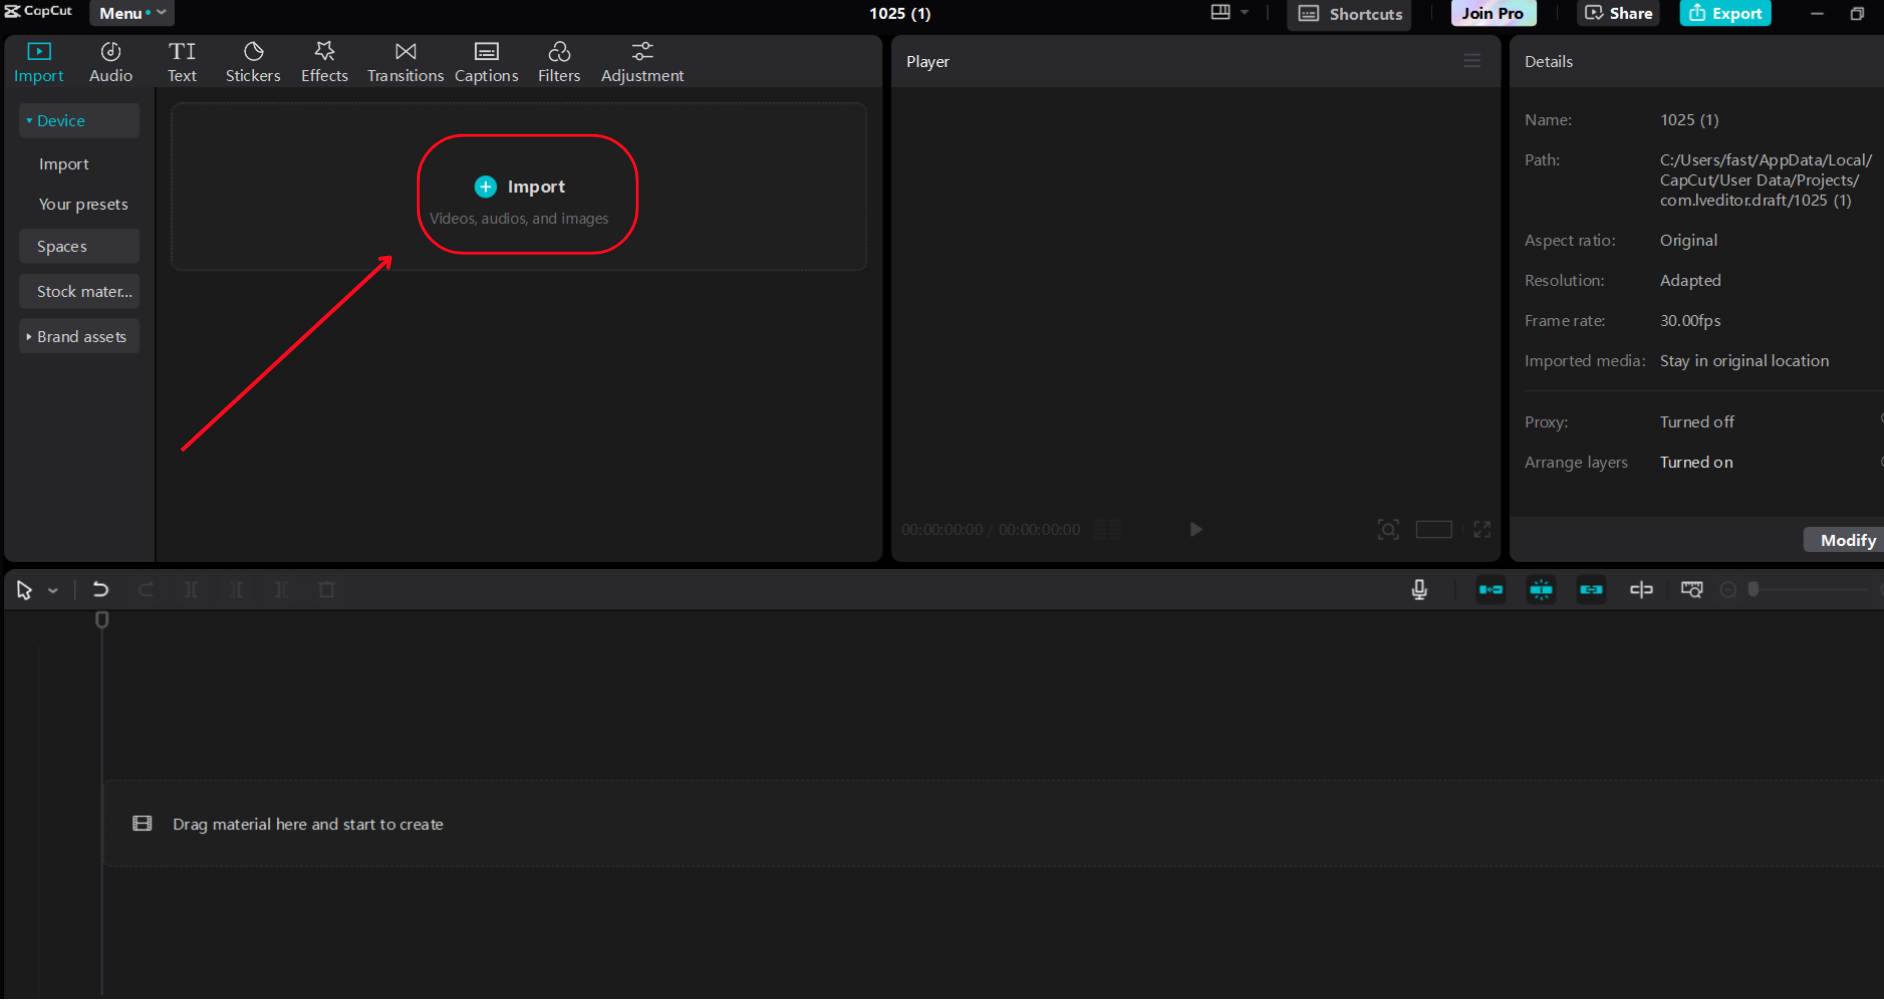
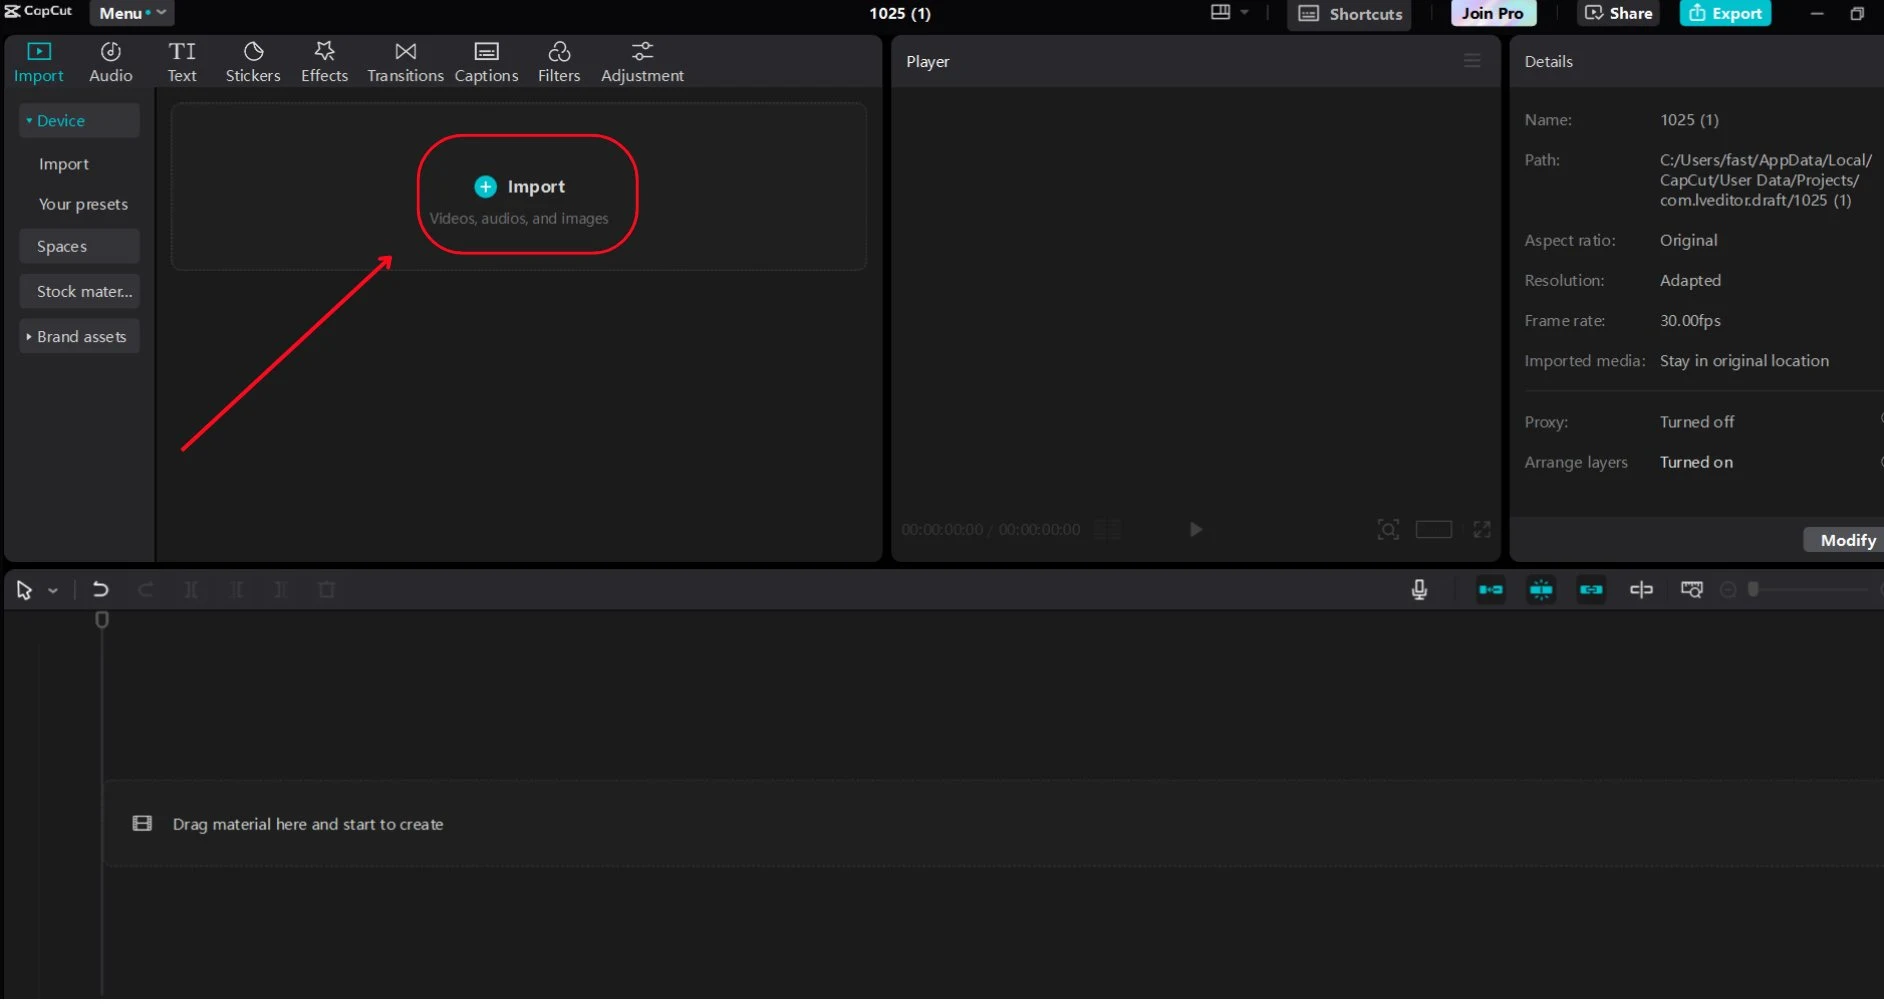
- Import your video
Download the CapCut version for desktop from the official webpage and install it on Windows or Mac. Open the app and select “New Project” in the welcome screen to enter the editor. Inside, hit the “Import” button in the upper left corner to bring in your video clips, images, or background music. Then drag everything into the timeline below to start arranging your sequence. You can trim or move clips around to fit the structure of your video.
- Customize your video
Move to the “Text” tab on the side and select “Text-to-Speech.” Write up a script like “Welcome back to my channel!” on type, choose from your preferred voice style, and click “Generate.” Drop the audio into your timeline and match it to your footage.
To grab a more diverse audio feeling, select your audio and go to the “Audio” tab, and test the application of the “Voice Changer.” Add some cool sounds through “Echo” or “Robot” to match the effect of your theme. After editing, import branding like your channel logo or text overlays on the “Elements” tab.
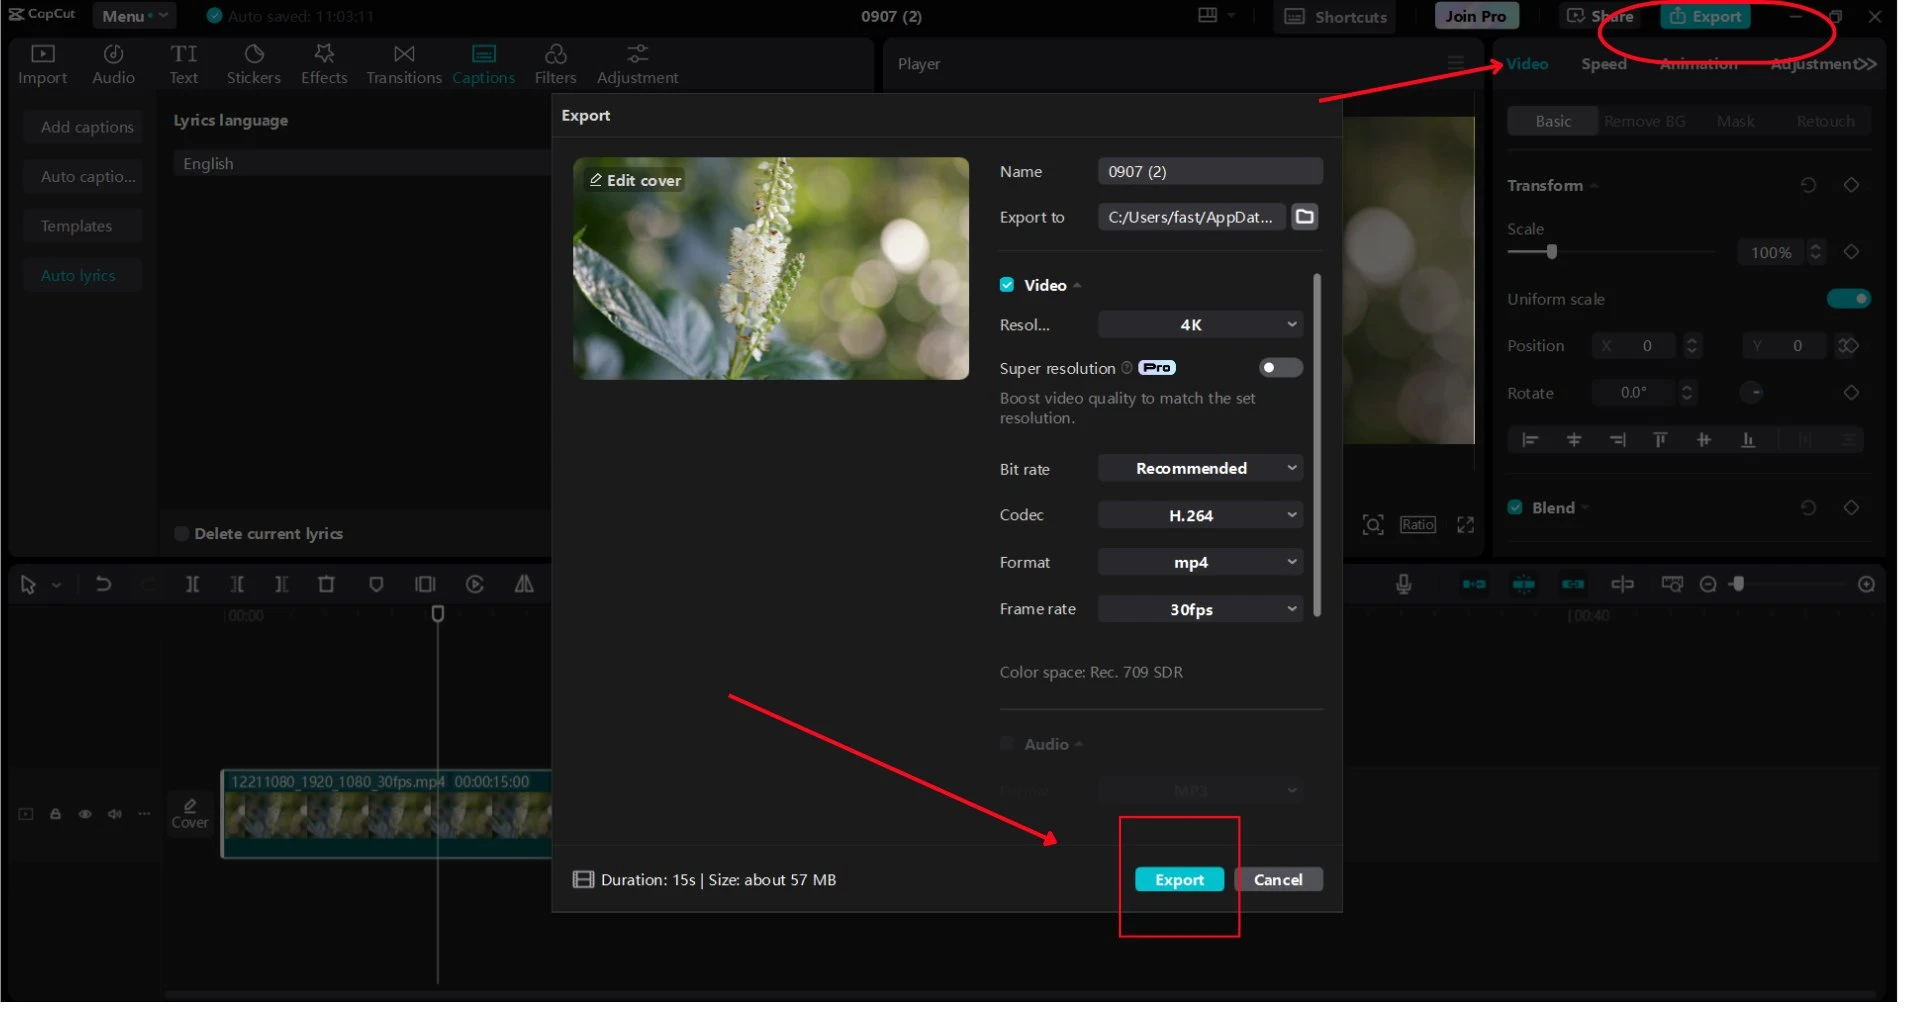
- Export your video
Preview the whole video by hitting the play button, and when ready, hit “Export” in the top-right corner. Choose an output resolution like 1080p and let your work be saved and prepared for uploading to wow your subscribers.

Conclusion
CapCut is a desktop alternative that every YouTuber should have in their tool list for producing professional and engaging content. The text-to-speech, AI video generator tool, and voice changer will allow you to create videos that will retain viewers and attract subscriptions. Try this process, play with these tools, and see the channel grow. Download CapCut now, and let’s get editing!