This guide to travel photography for beginners has seven important travel photography tips and tricks to help you take killer photos that elevate your blog and social media game. These days, it’s all about keeping your social media accounts on point. While some amazing photo-editing apps and video-editing software options make life easier in post-processing, you’re fighting a losing battle if your photos aren’t good to begin with. With my travel photography tips for beginners, you’ll avoid making rookie mistakes and start taking gorgeous adventure photos.
Creating content for social media is all about storytelling—showing audiences how much we enjoy certain places and helping them experience these destinations. To do that, you can’t exclusively rely on a video camera or the best camera for travel photography beginners. You’ll also need a thorough travel photography tutorial to take killer photos.
Without further ado, here are seven tips to know about travel photography for beginners.
Did You Get Travel Insurance Yet?
The Insurance companies I recommend are Hey Mondo, Atlas Nomad and Safety Wing
Hey Mondo is great if you are looking for a great value flexible policy. They offer single-trip cover, annual multi-trip cover, and long-term travel cover. Atlas Nomad is ideal for long-term travelers needing flexible, comprehensive coverage tailored for remote work abroad. Safety Wing is great value, costing around $2 per day. It’s super easy to use and renews automatically, making it ideal for long-term travelers and digital nomads. I currently use them as they offer me free cover for my son as part of my policy.
Read my full travel insurance post here, where I go into detail about all companies.
7 Travel Photography Tips for Beginners
1. Know Your Equipment
Finding the best
Are you okay with a bulky and heavy camera or looking for something light and easy to carry? Do you plan to shoot videos or photos primarily? Do you want to photograph in low light, or will you be outdoors in direct sunlight?
There are many factors to consider, and you must know your equipment well. A fancy DLSR camera is useless if you don’t know how to use it properly. Never forget about your phone—I shoot most of my content on my iPhone and then directly edit and upload it. For the last few trips I’ve been on, I’ve taken my DSLR and have not even used it! I often use my DJI Pocket and drone, but my phone camera does the job in a pinch.
I have written about the best blogging cameras to create killer content and the best vlogging cameras for beginners and pros.

2. Research
Specifically, you should dedicate time to researching your location. Based on my experience, I have several recommendations to help you. The first is to scout locations on foot—if you don’t have enough time, my second recommendation is to search for hashtags or geo-locations on Instagram. I start searching and save all the photos I love into a collection I use to plan my location list. Doing this preparation will help you work magic and let your creativity run wild on the day you plan to shoot.
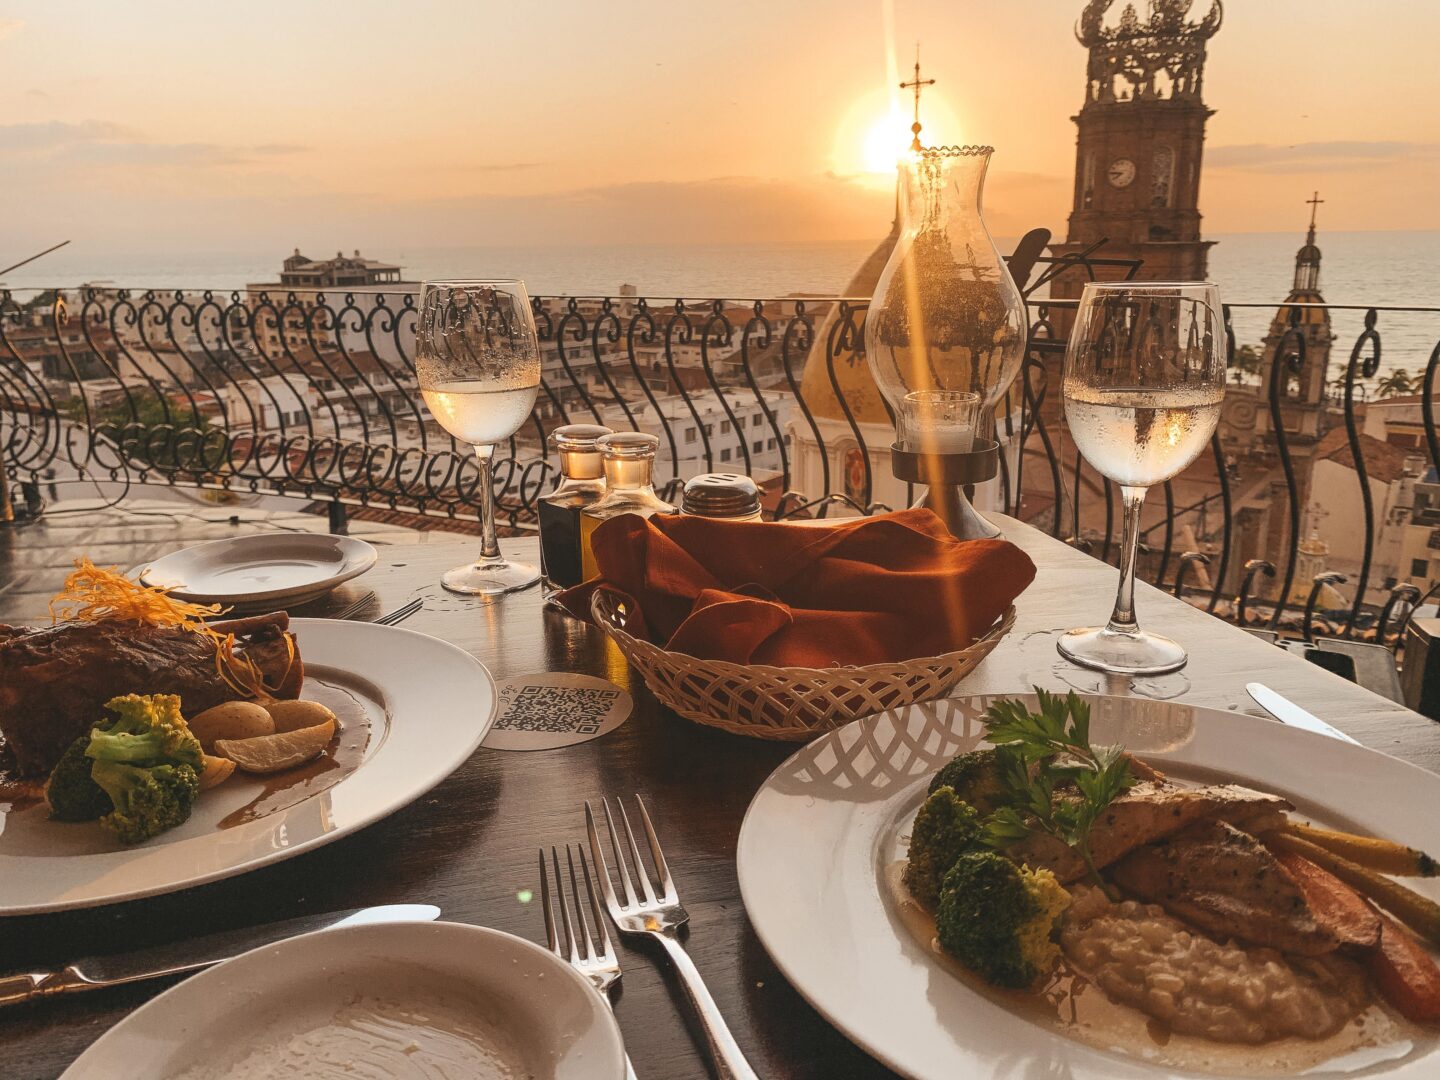
3. Get Up Early
If you are a blogger like me, this is one of the top travel photography tips for beginners. In essence, sunrise means fewer people. You must get out of bed early to get the best shots in popular tourist locations without crowds.
Of course, sunset is also a great time to shoot. The golden lighting just before sunset is perfect for portrait or landscape photography. Remember that after the golden hour comes the blue hour, which brings its own magic. Also keep in mind that the where is just as important as the when. You’ll take more interesting photos from locations that are a little different. You can take good photos standing next to the Chicago river; you can take great photos if you take them on a Chicago architecture boat tour that puts you on the water itself.I’ve taken some of my favorite shots during these times.

4. Remember the Rule of Thirds
You may have heard of this, but if you haven’t, you had better start researching.
It isn’t rocket science but a centuries-old technique you can observe in Renaissance paintings. Nowadays, photographers and videographers compose beautiful, engaging visuals using the Rule of Thirds.
Imagine separating an image into nine equal blocks. If you position your main subject in the center of the picture, you will have space around it, but you won’t have a clear view of what is happening beyond it.
If you position the main subject on either side (not too low or high), the viewer will have more to analyze, making the scene more eye-catching. Of course, you can also take advantage of this by striking some poses!
This is only one composition tip, but there are many more to improve your content creation abilities.
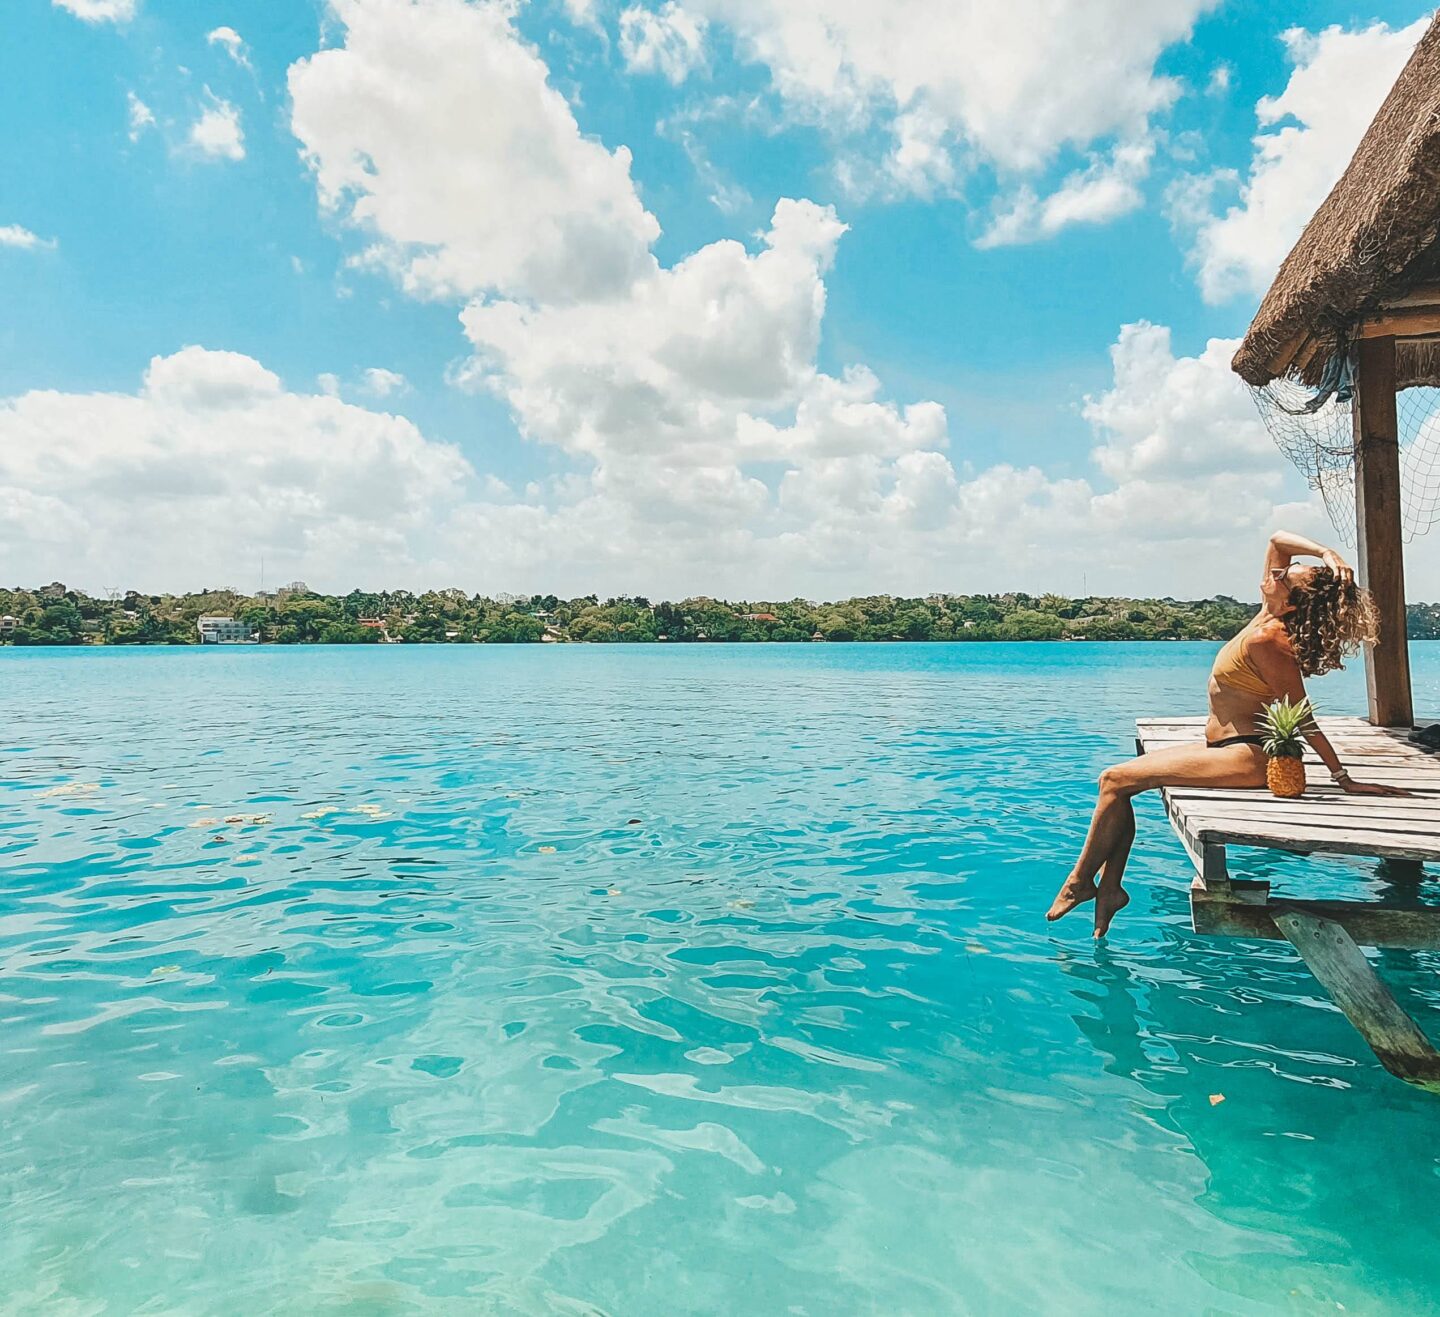

5. Pack Several Outfits
This isn’t the most revolutionary advice among travel photography tips and tricks, but it’s significant nonetheless.
I like scheduling a whole day to create content, so I bring several outfit changes. This is the best way to maximize your time as a professional content creator. I have a map with saved locations and a bag full of outfits I can quickly change into—I do my hair and makeup, and off I go! Generally, I’ll get up early to make the most of quiet mornings with fewer people.
While this takes some planning, it’s worth the effort.
6. Don’t Be Embarrassed
One of my top tips regarding travel photography for beginners is to take photos without fear of embarrassment. Many people find this bothersome when they are new to making content—overcoming the awkwardness takes time. Photographing with other content creators and Instagrammers helped me conquer my fears. There is safety (and less embarrassment) in numbers!
If you are walking around with your tripod, a microphone, or other filming gear, just own it. With practice, you will gain more self-confidence. Until then, fake it until you make it.
7. Learn How to Pose
Some will find this natural, but others will need more time. I am a dancer—as part of my training, I learned and practiced how to move my body. Even so, it took me time to find my photography style and enjoy the process.
You can involve your friends in this by having improvised photoshoots. Learn to have fun with it! My other tip is to search for poses online, as many vloggers can help. You can also book a shoot with a professional photographer who will guide you through traditional poses. Airbnb Experiences are a great place to find these.

Bonus Tip: Don’t Rely on Post-Processing (Editing)
This bonus tip combines aspects of all the previous travel photography tips and tricks we’ve discussed. Don’t rely only on editing for outstanding content. Instead, focus on creating the best shot possible using proper lighting, framing, and posing.
Solo Travel Guide Planning
🚗 Where can I book bus or private transportation while I’m traveling?
I strongly recommend using Bookaway. You can book almost all transport in the major tourist destinations through them online. They don’t just cover buses they also cover shuttles, ferries, and private drivers.
🎫 Where can I buy tickets for museums, attractions, and tours?
I recommend either Viator or GetYour Guide. They have a lot of options!
👩⚕️ What is the best insurance to have while traveling?
I recommend using Heymondo for a great value policy. The app also offers you 24/7 Dr Chat. For Digital Nomads check out SafetyWing digital nomad insurance.
I have also written a blog post covering all my recommended travel insurance here
✈️ Any flight recommendations?
WayAWay offers you cheap flights with cashback. You can use this code CLAIRE22 to get 10% off. Otherwise Skyscanner or Expedia are my go-to flight searching platforms.
📱What do you use for internet connection while traveling?
I’m a big fan of personal WiFi devices and they have saved my ass so many times when traveling. I wrote a full review of the top travel WiFi devices you can read here. I personally use GlocalMe as I can either pop in a physical sim card or use their local carrier.
With regards to my phone connection, I use e-sims while traveling, so rather than having to swap out my regular sim card I can download the app and buy a virtual sim card. I recommend using eitherAirhub or Alosim. Both have great coverage of multiple countries and are very easy to use.
🛏️ What is the best platform to use for booking accommodation?
The 3 best platforms that I normally use are Booking.com, Hotels.com, and Expedia They offer great deals and multiple options. I always check all three to be sure of the best deals.
🛅 Do you have any luggage recommendations for traveling?
I do have a complete list of the best packing and luggage products that I recommend, you can check the list here. I’m currently traveling with this suitcase and this backpack.
Travel Photography for Beginners: Final Thoughts
Even if you have the best camera for travel photography beginners, your gear won’t matter if you don’t understand the foundations of taking epic photos. With this travel photography tutorial, you can start capturing Instagram-worthy content. I hope these travel photography tips and tricks are helpful as you develop your photo-taking skills!